Trustpilot
Free Shipping on order over $250
Toll Free +1-800-710-8896
+1-442-325-3923
Live Chat
Register
Login
Contact Us
About Us
Blogs
SignIn
Register
My Cart
0
item(s)
|
$0
Total
$0
View Cart
WHOLESALE T-SHIRTS
Shop By Category
Baseball T-Shirts
Crewneck T-Shirts
Fashion T-Shirts
Henley T-Shirts
High-Visibility T-Shirts
Hooded T-Shirts
Long Sleeves T-Shirts
Quarter Zip T-Shirts
Safety T-Shirts
Short Sleeves T-Shirts
Sleeveless
Featured Brands
District
Gildan
Jerzees
Port & Company
Sport-Tek
Fruit of the Loom
Bella + Canvas
Delta
Soffe
Crewneck T-Shirts
Tank Tops
Short Sleeves T-Shirts
SWEAT & HOODIES
Shop By Category
Cardigans
Fleece
Hoodie
Pullover
Quarter Zip
Sweater
Sweatshirts
Thermal Wear
Wind Shirts
Featured Brands
Port & Company
A4
Alternative
American Apparel
Anvil
Augusta Drop Ship
Augusta Sportswear
Delta
Soffe
Pullover
Hoodies Jacket
JACKET & VEST
Shop By Category
Leather Jackets
Blazer
Bomber Jackets
High Visibility Vests
Hooded Jackets
Jackets
QUARTER-ZIP
Safety Jackets
Sleeveless jacket
Soft Shell Jackets
Track Jackets
Vests
Featured Brands
Port Authority
Alternative
Anvil
Augusta Sportswear
Bayside
Delta
Soffe
Jnriver
Full Zip Jackets
Jnriver Leather Jackets
HEADWEAR
Shop By Category
6-Panel Caps
Beanies
Camo & Wildlife Caps
Fashion Caps
Hats
Headband
Performance Caps
Safety Caps
Snapback Caps
Trucker Mesh Caps
Twill Caps
Visor
Featured Brands
Bella + Canvas
Port & Company
Flexfit
Port Authority
Devon & Jones
econscious
Under Armour
Sport-Tek
District
Delta
Soffe
Top Selling Beanies
Top Selling Caps
Visor Caps
POLO SHIRTS
Shop By Category
Color Block Polo Shirts
Jersey Polo Shirts
Long Sleeves Polo Shirts
Performance Polo Shirts
Pockets Polo Shirts
Short Sleeves Polo Shirts
Featured Brands
CornerStone
Devon & Jones
Sport-Tek
Under Armour
Under Armour SuperSale
Extreme
Port Authority
A4
Soffe
Top Selling Short Sleeves Shirts
Top Selling Pockets Polo Shirts
Long Sleeves Polo Shirts
WORKWEAR
Shop By Category
Button Down Shirts
CHEF COAT
Chefwear
Denim Shirts
Fishing Shirts
Long Sleeves Polo Shirts
Long Sleeves Shirts
Performance Shirts
Pocket Shirts
Short Sleeves Shirts
Twill Shirts
Woven Shirts
Featured Brands
District
Port & Company
Port Authority
Bulwark
Core 365
CornerStone
Devon & Jones
Delta
Soffe
Top Selling Twill Shirts
Top Selling Button Down Shirts
Denim Shirts
ACCESSORIES
Shop By Category
Aprons
Arm Sleeves
Bodysuits
Bow
Burp Cloth
Cape
Chairs
Lace
Pockets
Poms
Socks
Towels
Featured Brands
Port & Company
Liberty Bags
Port Authority
Sport-Tek
A4
Alternative
American Apparel
Soffe
Top Selling Blanket
Top Selling Towels
Top Selling Aprons
BOTTOMS
Shop By Category
Baseball Pants
Cargo Pant
Coveralls
Jogger Pants
Kilts
Legging
Pants
Scrub Pants
Shorts
Skirts
Tights
Workwear Pants
Featured Brands
Jerzees
Sport-Tek
District
Bella + Canvas
Port & Company
Port Authority
A4
Delta
Soffe
Cargo Pants
Jogger Pants
BAGS & COOLERS
Shop By Category
Backpack
Bags
Cinch Pack
Cooler
Duffel Bags
Messenger Bags
Pouches
Tool Bags
Tote Bags
Travel Bags
Waist Pack
Featured Brands
Port Authority
District
econscious
Liberty Bags
Gemline
Authentic Pigment
Columbia
BAGedge
OAD
Q-Tees
Departments
All Departments
Women
Infants/Toddler
Men
Girls
Boys
Unisex
Youth
No!
Match found.
Categories
Medical Staff Uniforms & Supplies
Scrub Jackets
Gloves
Mask
Scrub Pants
Medical Scrub
Scrub Caps
Lab Coats
Scrub Tops
Gown
Accessories
Cape
Chairs
Bodysuits
Arm Sleeves
Towels
Socks
Burp Cloth
Aprons
Pockets
Bow
Poms
Lace
Blanket
Robe
Inserts
Bands
Hair Bows
Gaiters
Ear Warmers
Briefs
Face Sheild
Bandana
Complete Apparel Kit
Scarf
Belts
Pets Wear
Bib
TIE
Leotard
Decoration Supplies
Intimates
Bras
Bottoms
Jogger Pants
Scrub Pants
Legging
Baseball Pants
Pants
Shorts
Workwear Pants
Cargo Pant
Kilts
Tights
Skirts
Coveralls
Jeans
Sweatpants
Overalls
Sweat & Hoodies
Quarter Zip
Sweater
Jackets
Hoodie
Cardigans
Wind Shirts
Sweatshirts
Pullover
Sleeveless
Fleece
Thermal Wear
Crewneck Sweatshirt
Zip Up Hoodies
Headwear
Twill Caps
Snapback Caps
Safety Caps
Performance Caps
Headband
Fashion Caps
Beanies
Camo & Wildlife Caps
Visor
6-Panel Caps
Hats
Trucker Mesh Caps
5-Panel Caps
Baseball Caps
Caps
Swim Caps
Bucket Hat
Dad Hats
Jacket & Vest
Sleeveless jacket
Safety Jackets
Vests
High Visibility Vests
Bomber Jackets
Track Jackets
Hooded Jackets
Jackets
Soft Shell Jackets
Tunic
QUARTER-ZIP
Blazer
Fleece
Windbreaker
Performance Jackets
Full Zip Jackets
Denim Jackets
Button Close Jackets
Smock
Baseball Jackets
Coats
Wholesale T-Shirts
Sleeveless
Quarter Zip T-Shirts
Baseball T-Shirts
Safety T-Shirts
Hooded T-Shirts
High-Visibility T-Shirts
Henley T-Shirts
Short Sleeves T-Shirts
Fashion T-Shirts
Long Sleeves T-Shirts
Crewneck T-Shirts
Women Dress
Tank/Tops
Raglan T-Shirts
Jersey T-Shirts
Color Block T-Shirts
Shrugs
Tie-Dyed T-Shirts
Camo & Novelty T-Shirts
Ringer T-Shirts
Pocket T-Shirts
V-Neck T-Shirts
Quarter Sleeves T-Shirts
Performance T-Shirts
Warm T-Shirts
Polo Shirts
Jersey Polo Shirts
Short Sleeves Polo Shirts
Pockets Polo Shirts
Long Sleeves Polo Shirts
Performance Polo Shirts
Color Block Polo Shirts
Workwear
Fishing Shirts
Twill Shirts
Short Sleeves Shirts
Pocket Shirts
Woven Shirts
Performance Shirts
Chefwear
CHEF COAT
Pocket T-Shirts
Bags & Coolers
Pouches
Cinch Pack
Tote Bags
Tool Bags
Waist Pack
Bags
Cooler
Backpack
Messenger Bags
Travel Bags
Duffel Bags
Drawstring Backpack
Leather Jacket
Leather Bomber Jacket
Leather Motorcycle Jacket
Racer Leather Jackets
Suede Leather Jackets
Hooded Leather Jacket
Leather Trucker Jacket
Distressed Leather Jacket
Quilted Leather Jacket
Shirts
Button Down Shirts
Denim Shirts
Long Sleeves Shirts
Pocket Shirts
Dri Fit Shirts
Button Up Shirts
No!
Match found.
SPECIALSTORES
All SpecialStores
Startups & Entrepreneurs Branding
Restaurant Uniforms
Mechanic Clothing
Medical Uniforms
Transportation / Distribution
Cleaning Uniform
Hotel Uniform
Election Campaign Giveaways
Construction Clothing
Trade Show Giveaways
Electrical, Plumbing & HVAC
Flame Resistant Clothing
Farmer Uniform
Sales Uniforms
Oil And Gas Safety Supply
Municipal Sport Utility Gear
High Visibility Clothing
Industrial Uniforms
Real Estate Agents
Security Uniform
No!
Match found.
BRANDS
All Brands
Jerzees
Bella + Canvas
Port & Company
Champion
Hanes
Rabbit Skins
Red Kap
Russell Outdoors
Bulwark
Fruit of the Loom
Sport-Tek
Wonderwink
AllMade
Gildan
Port Authority
District
Next Level
CornerStone
Comfort Colors
Red House
American Apparel
Anvil
Core 365
Under Armour
Il Migliore
econscious
Bayside
Russell Athletic
Augusta Sportswear
Devon & Jones
Flexfit
Headsweats
Team 365
Liberty Bags
Gemline
Marmot
Extreme
Under Armour SuperSale
North End
Towels Plus
Alstyle
Alternative
Authentic Pigment
Yupoong
Columbia
Holloway
A4
LAT
Dri Duck
Harriton
Threadfast Apparel
Augusta Drop Ship
Tie-Dye
Big Accessories
UltraClub
All Sport
Ashworth
J America
Dickies
180s
Adams
Alpine Fleece
Artisan Collection by Reprime
Backpacker
BAGedge
Beimar
Berne
Bright Shield
Burnside
Carmel Towel Company
Chestnut Hill
Code Five
ComfortWash by Hanes
Doggie Skins
Fahrenheit
Fortress
Hall of Fame
Hardware
Igloo
Just Hoods By AWDis
Kanata Blanket
Lane Seven
Nautica
OAD
OccuNomix
Pro Towels
Puma
Shaka Wear
Simplex Apparel
StarTee
Sublivie
Top Of The World
US Blanks
Weatherproof
47 Brand
Alleson Athletic
Badger
Blue 84
Boxercraft
C2 Sport
Calvin Klein
CAP AMERICA
Chef Designs
Colorado Clothing
Colortone
Dyenomite
FeatherLite
Helen Jon
Hilton
Horace Small
HYP
Imperial
Independent Trading Co.
IZOD
Kati
Kishigo
Lee
LEGACY
Maui and Sons
Mega Cap
MV Sport
Oakley
Outdoor Cap
Paragon
PRIM + PREUX
Q-Tees
Quikflip
Rawlings
Richardson
Sierra Pacific
SOCCO
Sportsman
Stormtech
Teamwork Athletic Apparel
The Game
The Stadium Chair
Tommy Hilfiger
Valucap
Van Heusen
YP Classics
HIGH FIVE
PACIFIC HEADWEAR
Volunteer Knitwear
Edwards
Tri-Mountain
Tri-Mountain GOLD
Tri-Mountain Lilac Bloom
Tri-Mountain Performance
Tri-Mountain RaceWear
Jnriver
Soffe
Jack Nicklaus
Soffe Intensity
Platinum
Callaway
DELTA APPAREL
Original Penguin
Atlantis Headwear
Built
Classic Caps
Edwards Garment
Emoti
Faribault Woolen Mills
Gaiter King
GameTime
Goofy Group
Ice Shaker
Leeman
Mercer+Mettle
MopToppers
Prime Line
Rubiks
Spacecraft
Swanky
Swannies Golf
TriDri
No!
Match found.
Contact Us
About Us
Blogs
Apparelbus Blogs
04/19/2024
How To Dress Warm And Stylish In Winter
04/19/2024
The Ultimate Guide to Layering Cold Weather Gear
04/18/2024
Gildan G500 Adult Heavy Cotton 53 oz TShirt
04/18/2024
Mastering Winter Style Your Guide to Staying
04/17/2024
Employee Appreciation Gift Ideas
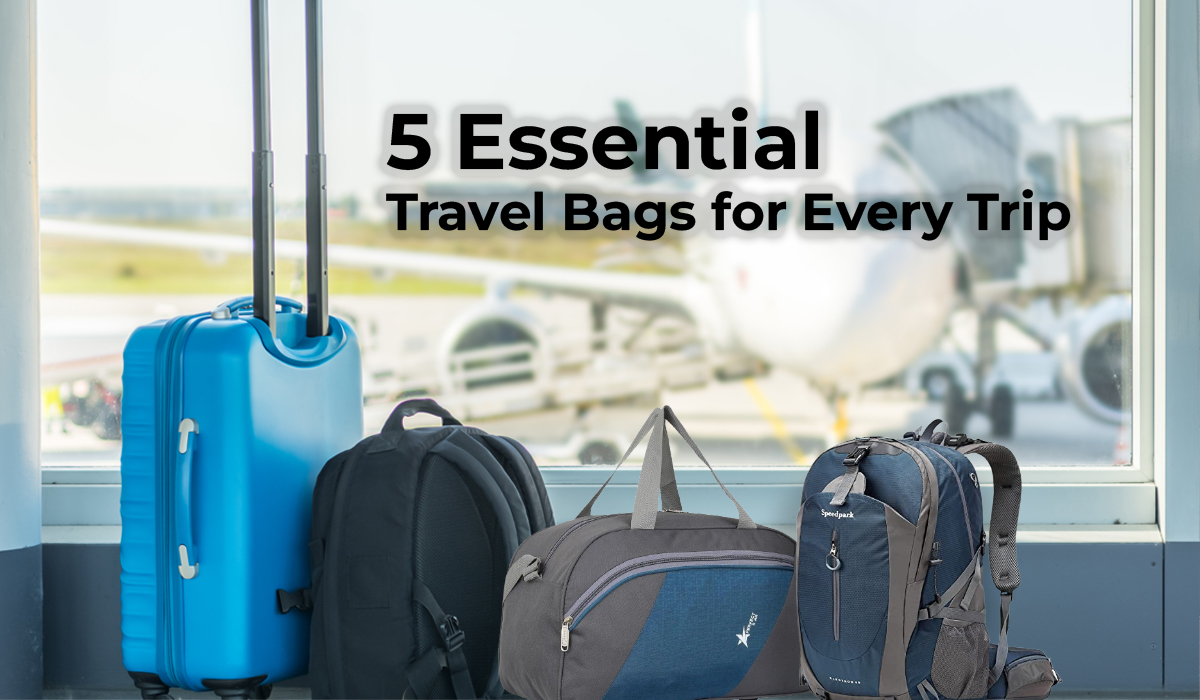
04/16/2024
5 Essential Travel Bags for Every Trip
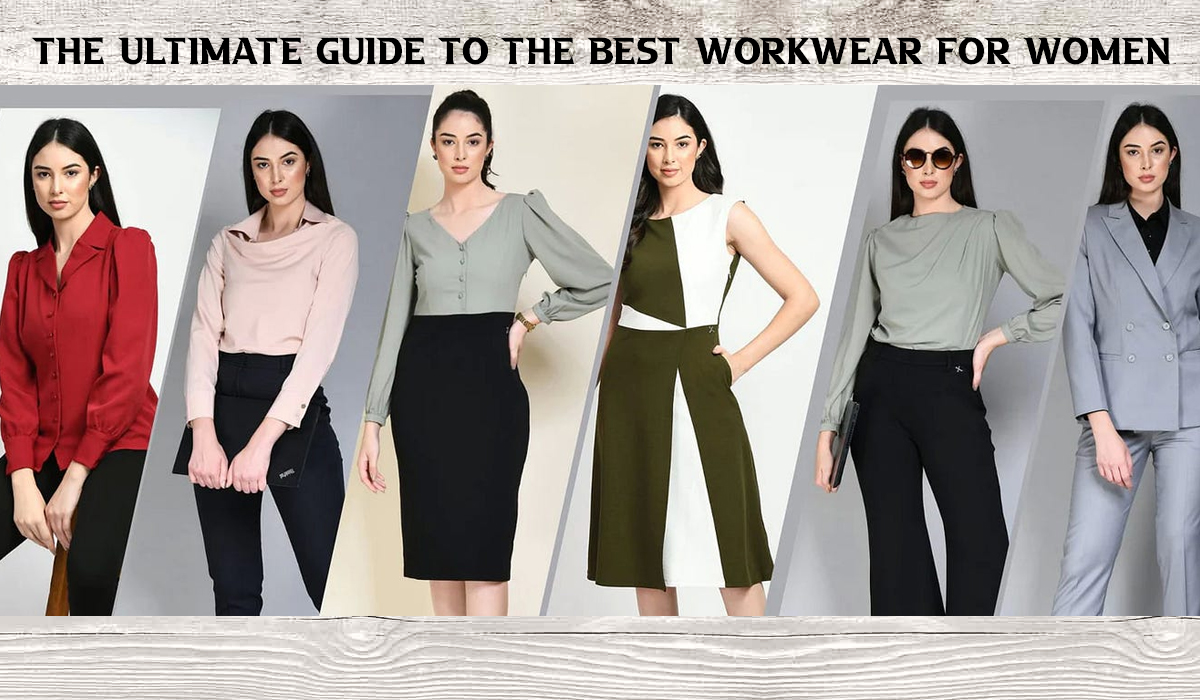
04/16/2024
The Ultimate Guide to the Best Workwear for Women
04/15/2024
Elevate Your Performance with Gildans T Shirt
04/09/2024
Top 5 Wholesale T shirt Brands
04/08/2024
Ultimate Guide for Selecting Fabric for Sportswear
SHOW MORE
Do you like cookies?
🍪 We use cookies to ensure you get the best experience on our website.
Learn more
I agree
Close
View wishlist
×
0
Items
Added To Your Cart
Your shopping cart is currently empty.
View cart
Your Wishlist:
0
Items
Your wish list is currently empty.
Loading...